After a long season of travel or storage, stepping into your RV, camper, or travel van can sometimes come with an unwelcome surprise. Stale air, trapped humidity, food residue, or lingering pet and smoke odors often settle into soft surfaces and ventilation systems while the vehicle sits unused. That musty scent is a clear sign it's time for a seasonal reset.
Fortunately, a clean, odor-free environment is easier to achieve than it might seem. With the right approach and consistent use of odor-neutralizing techniques, you can restore your vehicle’s interior and make it feel ready for the road again.
Start with a Complete Interior Reset
Before diving into odor treatment, clear out any leftover gear, linens, food, or trash. This step reveals the full scope of cleaning needed and prevents hidden sources of odor from escaping detection.
Open all windows and doors to allow fresh air to circulate. Airing out the interior is an essential step in moving out stagnant air and beginning the deodorizing process. If the weather cooperates, let the space breathe for a few hours while you prep your cleaning supplies.
Vacuum and Surface Clean Every Zone
Odors cling to soft materials like cushions, rugs, curtains, and mattresses. Start by vacuuming thoroughly, using a brush or crevice tool to reach corners, seams, and under built-in furniture. Shake out rugs and consider washing removable fabric items to remove trapped odor particles.
For hard surfaces walls, countertops, cabinets, and tables, use a gentle cleaner to wipe away grease, dust, and mildew. Don’t forget less obvious areas like drawer interiors, light switches, or window frames. Many lingering odors originate in overlooked spaces.
Focus on Soft Surfaces Where Odors Settle
Fabric holds onto smells longer than most materials, so it's crucial to treat it directly. Apply an odor neutralizer specifically formulated for upholstery and carpets. Lightly mist mattresses, seat cushions, curtains, and carpeted flooring. Be sure to spray underneath seating and in storage cubbies lined with fabric or insulation.
Avoid scented sprays or heavy air fresheners that merely cover the issue. True neutralizers work by breaking down odor-causing particles and removing the source of the smell entirely. This is especially important in enclosed spaces like RVs, where synthetic fragrance can quickly become overpowering.
[product=xcl-mal-odor-counteractant|variants=16 oz. / Fresh Air,5 oz. / Fresh Air,2 oz. / Fresh Air,16 oz. / Linen Breeze,16 oz. / Lavender & Lily,16 oz. / Lemoncello,5 oz. / Linen Breeze,5 oz. / Lavender & Lily,5 oz. / Lemoncello,2 oz. / Linen Breeze,2 oz. / Lavender & Lily,2 oz. / Lemoncello,16 oz. / White Tea West - Upscale Room Spray,5 oz. / White Tea West - Upscale Room Spray,2 oz. / White Tea West - Upscale Room Spray]
Blaze Away works well for fabric-heavy spaces like RVs where odors settle into carpets, cushions, curtains, and mattresses. A light mist helps cut down lingering smell without turning the air overly perfumed.
[/product]
Refresh the Kitchen and Bathroom Zones
Cooking odors, spills, and moisture buildup often settle in the galley and bathroom areas. Clean all appliances thoroughly, including the inside of the microwave, stovetop, and refrigerator. Wipe down the walls around these appliances, where oils and condensation may have collected.
In the bathroom, disinfect all surfaces, including the toilet, sink, walls, and mirrors. Run fresh water through the plumbing system if it's been drained. If you have a gray or black water tank, treat it with a product that reduces odors without relying on harsh chemicals or masking agents.
Apply a neutralizing spray around the base of the toilet, inside drawers, and near any soft bath mats or towels that may have absorbed moisture while in use.
Treat Vents and Air Circulation Paths
Many RVs and vans have HVAC or fan systems that cycle air through the interior. After months of storage, dust, pollen, and odor particles often build up in these channels. Replace any filters in your air system if possible.
To clear lingering air pathways, run the fans and lightly mist a neutralizer near the air intake and output vents. You can also wipe the vent covers themselves, as they tend to collect debris and dust over time.
Proper airflow combined with odor elimination ensures the entire vehicle smells clean, not just the surfaces.
Neutralize Hidden Odor Zones
Every vehicle has a few places where scent tends to linger. These include:
-
Under sink cabinets and behind appliances
-
Inside closets or storage drawers with soft lining
-
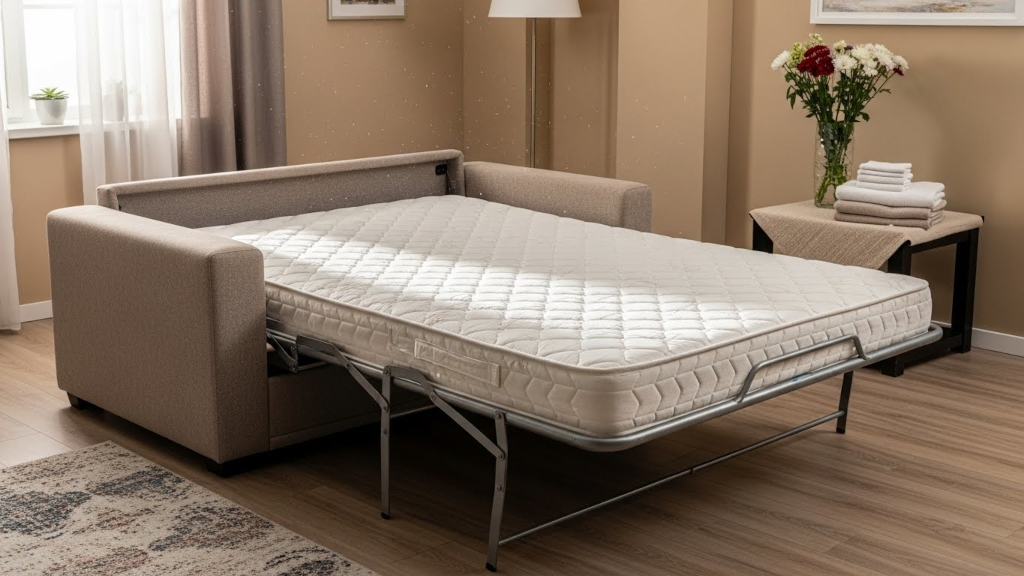
Beneath beds or fold-out sleeping areas
-
Floor seams near entry points and water sources
Inspect these areas carefully. A few sprays of a non-toxic odor neutralizer can help remove stale or musty scents without the need for harsh chemicals.

Finish with a Gentle, Even Application
Once every area has been cleaned and sprayed appropriately, allow the vehicle to air out once more. Open vents, windows, and doors to ensure full circulation. This final ventilation step allows any excess moisture or remaining particles to leave the space and prevents over-saturation of fabric or materials.
The result should be a cabin that smells neutral, light, and breathable, not fragranced or artificial.
Ongoing Maintenance for Future Trips
To keep things fresh between adventures, store a small spray bottle in your cleaning kit. After each trip, do a quick refresh by lightly misting the bedding, seating, and air before closing up the space. Keep rugs vacuumed and cabinets free of food crumbs or damp cloths.
A little ongoing attention will reduce the intensity of seasonal cleanups and keep your travel-ready space as welcoming as it was the day you bought it.
Clean Interior, Clear Start
There’s nothing like returning to your RV or camper and finding it just as fresh as you left it. A truly clean vehicle is more than visual; it includes the air you breathe and the environment you create inside. With odor-neutralizing care built into your seasonal routine, every journey begins in a space that feels crisp, calm, and ready for whatever’s ahead.